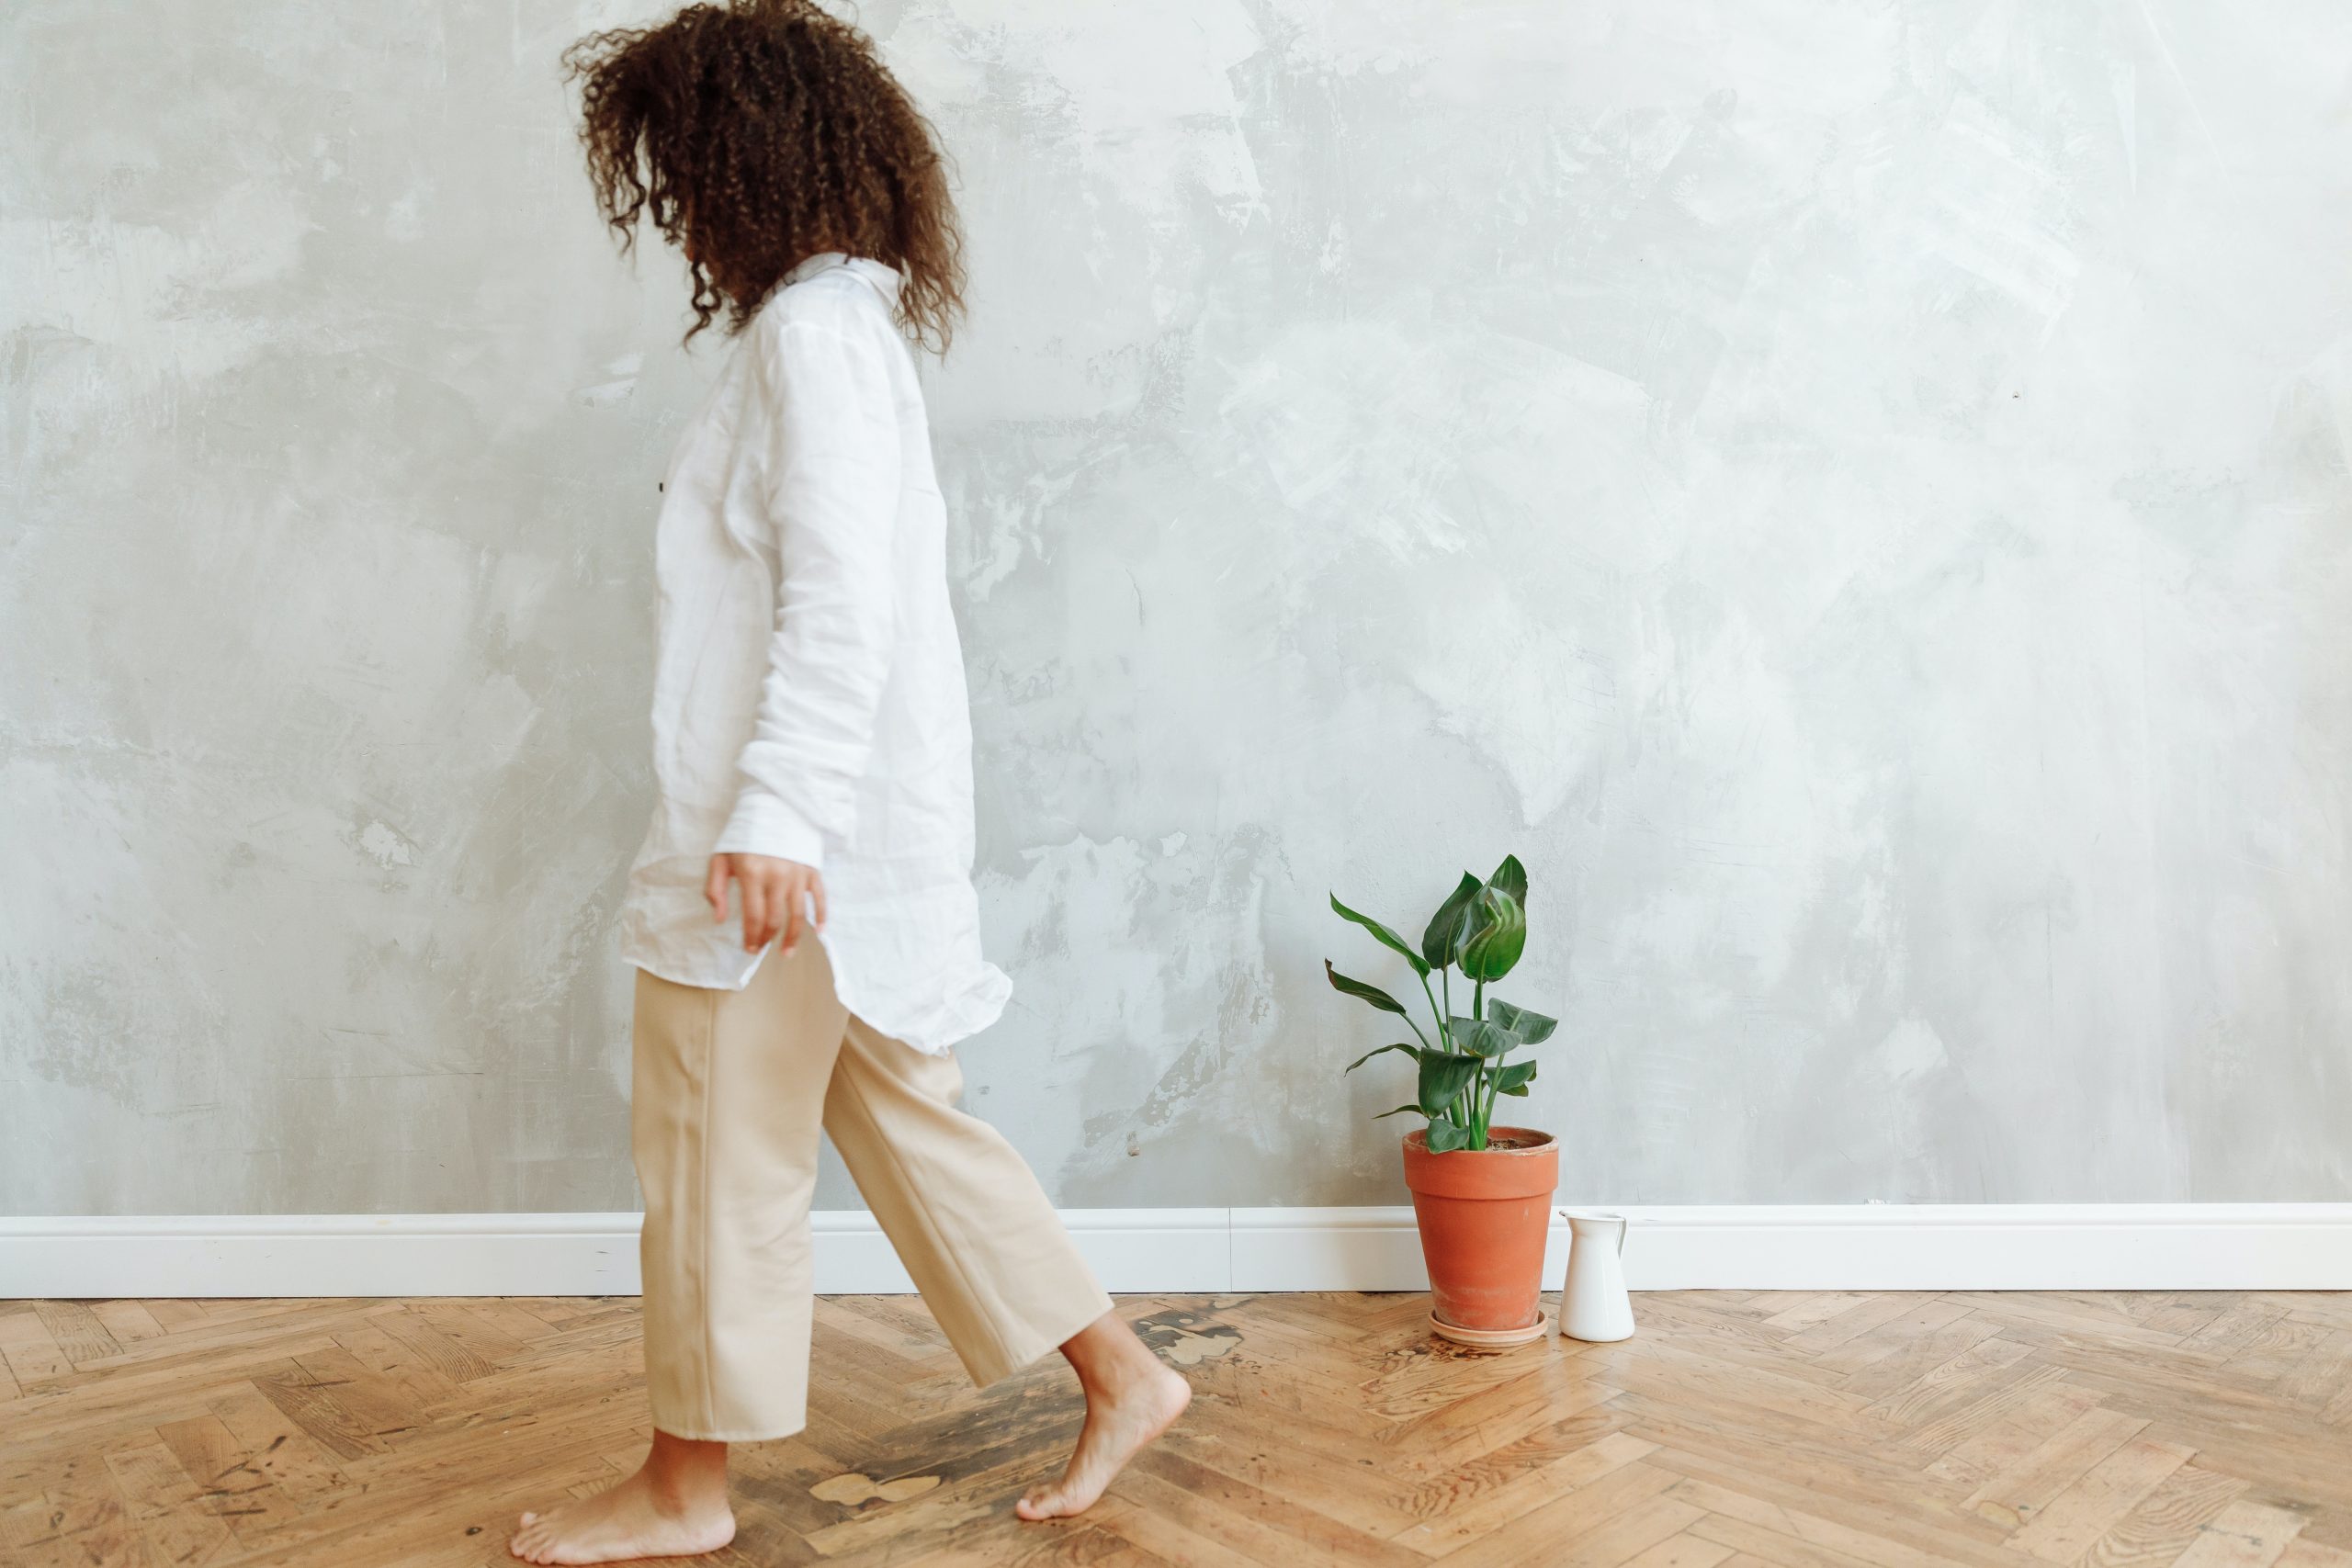
Did you know that herringbone is the most popular flooring pattern? For years it has reigned on parquet floors all over Europe. This is because of its beautiful pattern, which is a decoration in itself. But how do you lay a herringbone floor yourself?
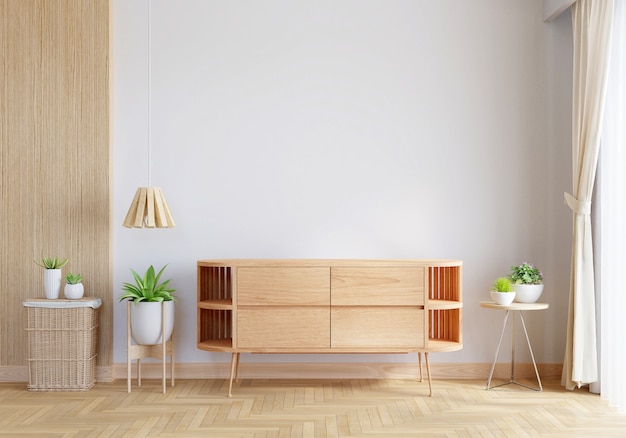
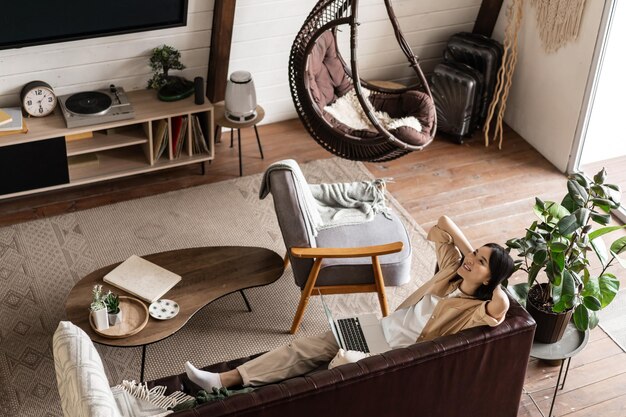
I assume you’ve already chosen the wood you’d like to make your floor from. You should choose it according to its wear class and match the floor to your interior. So let’s start laying parquet.
1. The first step is to protect and clean the floor. It is also worth to equip yourself with necessary tools, that is:
With these accessories, you will not only lay but also adjust the length and shape of the boards, even in the folds and corners of the room.
2. Another basic point is to measure the room and draw a line through the middle. This line will determine where to start laying the individual boards. This line will be the axis and the center of the chosen pattern, that is why its precise drawing is so important.
3. Now, we start to segregate the boards. You can choose, for example, rich pattern on the boards or go towards naturalness. There can be darker and lighter versions in one package.
4. We proceed to the initial distribution of the boards, starting with joining the left and right ones together. The center will be marked by a line drawn beforehand. To make the herringbone pattern look attractive, you need to move horizontally towards both walls when laying the individual strips.
5. Then, the next row should be laid in the same way. Remember to keep cutting any boards that are missing at the corners or edges of the walls. This will prevent the boards that have already been laid from pulling apart.
6. When the floor is tightly packed with boards that form a herringbone pattern, check that no boards are sticking out. You can choose to have the parquet laid with or without glue. You can choose between tongue-and-groove or glued parquet. Keep in mind that with glue, any touch-ups are out of the question. After laying the glued parquet, you need to give it time for the solution to set properly. This will prevent the boards from pulling apart. Before you start working with glue, it is a good idea to prepare all the elements, such as cut boards. It is also worth buying a spare parquet in case one of the boards gets damaged.
7. The last thing to do is to wait for the drying time recommended by the manufacturer and then vacuum the floor thoroughly. Moving on to protecting the boards from damage – once dry, the parquet should be coated with varnish or any protective material designed for wood. You can also choose boards that are immediately impregnated. This option will speed up finishing works, and in addition, it will be safer for children, pregnant women or elderly people, because they will not be exposed to the inhalation of varnish.
Main photo: Thirdman/pexels.com